Podcasting Equipment Australia Your Complete Guide
- contact733797
- Sep 6, 2025
- 15 min read
Thinking about starting a podcast in Australia? It's easier than you might think, but the sheer amount of equipment advice out there can feel pretty overwhelming. Let's cut through the noise. To get started, you really only need four key things: a good microphone, an audio interface, headphones, and a couple of essential accessories.
Nailing these basics is your first, most important step towards creating audio that sounds professional and keeps your listeners hooked.
Building Your First Australian Podcast Studio
Podcasting has absolutely boomed, and it's easy to see why. It’s a brilliant way to tell stories, build a brand, or just connect with people who share your passions. Here in Australia, the growth has been huge. Podcast listenership has jumped by 37% in just the last two years, which means nearly six million Aussies are now tuning in every single week.
This surge, mostly driven by listeners aged 18-34, shows there's a massive audience ready and waiting for new voices. If you want to dive deeper into the stats, the 2024 Australian Podcast Report from Commercial Radio & Audio is a great read.
So, how do you join this creative wave? First, you need a place to record. Forget those intimidating images of recording studios with mixing boards covered in a million knobs and dials. A solid podcasting setup really just comes down to four core components.
The Four Pillars of Podcasting Gear
Think of it like building a house. Each piece of gear is a structural element. If your foundation is weak, the whole thing will be shaky, no matter how fantastic your ideas are.
Here’s the absolute must-have list:
The Microphone: This is the most crucial link between you and your listener. It’s what captures your voice, and its quality has a direct impact on how professional your show sounds.
The Audio Interface: This little box is the translator. It takes the analogue sound signal from your microphone and converts it into a digital format your computer can actually understand and record.
Headphones: You need to hear what you're recording, as you're recording it. Headphones are non-negotiable for catching pesky background noise or sound issues before they have a chance to ruin an entire take.
Key Accessories: They might seem small, but things like a pop filter and a boom arm make a world of difference to your final sound quality and your comfort while recording.
Right at the start, you’ll hit a fork in the road: do you build your own studio at home, or do you use a professional space? A home setup gives you the freedom to record whenever inspiration strikes. On the flip side, opting for a professional podcast studio hire in Melbourne means you can skip the technical headaches and get access to top-tier equipment from day one.
This guide will walk you through each of these pieces, helping you figure out the best path for your goals and your budget.
Choosing the Right Microphone for Your Voice
If there’s one piece of gear you can’t afford to skimp on, it’s your microphone. It’s the very first link in the chain between your voice and your listener’s ears, and more than anything else, it dictates the professional quality of your show.
Think of it like the lens on a camera. You can have the most expensive camera body in the world, but a cheap, poor-quality lens will always result in a disappointing photo. A great microphone is the foundation of brilliant audio.
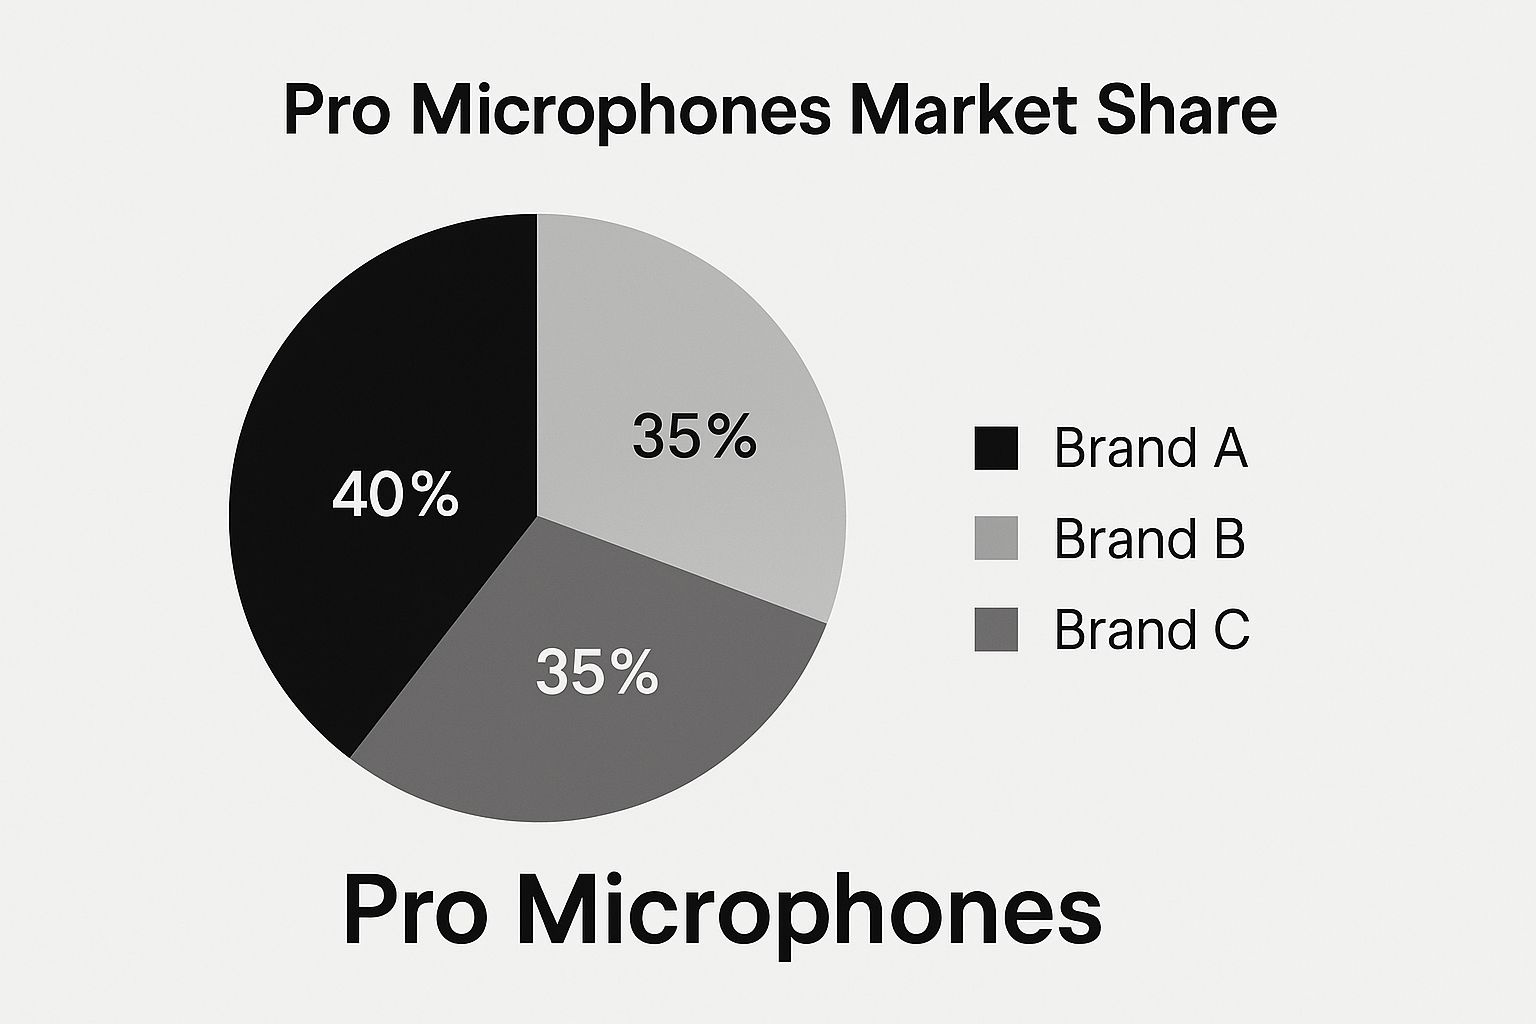
When you start shopping for podcasting equipment here in Australia, you'll quickly find that microphones fall into two main camps: Dynamic and Condenser. Getting your head around the difference between them is the key to choosing the right tool for your specific recording space.
Dynamic Mics: The Rugged Workhorse
Think of a Dynamic mic as a tough, reliable 4x4. It’s built to handle less-than-perfect conditions with ease. These microphones are intentionally less sensitive and are brilliant at rejecting any sound that isn't coming from directly in front of them. This makes them a podcaster's best mate.
If your "studio" is actually a spare bedroom, a home office, or even a shared space, a dynamic mic is your secret weapon. It’ll zero in on your voice while minimising the annoying echo, the hum of the air con, or the neighbour's dog having a moment. A fantastic, locally available option is the RØDE Procaster – it’s a broadcast-quality beast.
A dynamic microphone is wonderfully forgiving. It creates a tight focus on your voice and pushes background noise away, making it perfect for anyone recording in a real-world space, not a soundproofed bunker.
Condenser Mics: The Studio Specialist
A Condenser microphone, on the other hand, is more like a high-performance luxury car. It’s incredibly sensitive, captures stunning detail, and performs at its absolute best in a controlled, pristine environment. Condenser mics pick up every tiny nuance of a sound, from the crisp "t"s and "s"s in your speech to the rich resonance of your voice.
This incredible detail is a blessing if you’re recording in a quiet, acoustically treated room. But in a typical Aussie home, that same sensitivity will capture everything—the fridge humming in the kitchen, your chair creaking, and the traffic rumbling past. That’s why they’re the go-to in professional studios but can be a real headache for home setups. A popular choice is the RØDE NT1, which delivers breathtaking clarity for podcasters who have a dedicated, quiet space to work in.
To help you decide, here's a quick breakdown of how these two types of microphones stack up against each other.
Dynamic vs Condenser Microphones A Quick Guide
This comparison is designed to help you choose the best microphone type for your podcasting needs and environment.
Feature | Dynamic Microphone (e.g. RØDE Procaster) | Condenser Microphone (e.g. RØDE NT1) |
|---|---|---|
Best For | Untreated rooms, home studios, live shows, multiple speakers | Acoustically treated studios, solo voice-over, music |
Sensitivity | Low - rejects background noise well | High - picks up subtle details and nuances |
Durability | Very rugged and durable | More delicate and sensitive to handling |
Power Needs | Does not require phantom power | Requires 48V phantom power from an interface or mixer |
Sound Profile | Rich, warm, broadcast-style sound | Crisp, detailed, and ultra-clear audio |
Ultimately, your recording environment is the biggest factor. Be honest about where you'll be recording, and choose the mic that plays to that space's strengths.
For a more detailed look at specific models, make sure to read our guide on the top microphones for home studio retailers in 2025.
USB vs. XLR: The Great Connection Debate
After you’ve picked a side in the Dynamic vs. Condenser battle, you've got one more choice to make: how it plugs into your computer.
USB Microphones: These are the definition of plug-and-play. They connect straight into your computer's USB port, they're dead simple to set up, and you don’t need any other gear. Perfect for beginners.
XLR Microphones: This is the professional standard. XLR is the three-pin connector you see on stage and in studios. These mics plug into an audio interface or a mixer, which then connects to your computer.
While a USB mic is all about convenience, an XLR setup is a smarter long-term investment. It gives you far more control, better sound quality, and the flexibility to add multiple mics for interviews. It’s a scalable system that can grow with your show, making it the choice for anyone serious about creating top-tier audio.
Audio Interfaces and Mixers: Your Podcast's Nerve Centre
So you've chosen a professional XLR microphone, ready for that warm, broadcast-quality sound. But there's a crucial piece of the puzzle missing. How do you actually get the audio from that beautiful microphone into your computer? This is where audio interfaces and mixers step in. They’re the essential translators in your recording setup.
Think of it this way: your XLR microphone speaks an analogue language, but your computer only understands digital. You need a device that can convert the signal, and do it cleanly without losing any of the richness. That critical job falls to either an audio interface or a mixer.
Figuring out which one you need really boils down to your podcast's current format and where you see it going in the future. One is a straightforward bridge, while the other is a full-blown control panel for your audio.
What’s an Audio Interface?
An audio interface is the most direct path from your microphone to your computer. It's a compact external box with one primary role: to take the analogue signal from your XLR mic, convert it into a high-quality digital signal, and send it to your computer, usually via USB.
It's the perfect starting point for solo podcasters or shows with two hosts. Interfaces typically feature one or two microphone inputs (called preamps) and provide the 48V phantom power that condenser mics require to work.
For many Aussie creators, an interface is all you'll ever need. The Focusrite Scarlett series, especially the Scarlett 2i2, is wildly popular for its reliability, clean sound, and simple operation. It's a genuine workhorse piece of podcasting equipment Australia-based creators trust to deliver professional results without any fuss.
An audio interface is like a high-quality language translator for a solo traveller. It ensures your message gets across perfectly, without any confusion or loss of meaning, making it ideal for focused, one-on-one communication.
When Should You Step Up to a Mixer?
If an interface is a simple translator, a mixer is the entire command centre. It’s where you can plug in multiple microphones and other sound sources—like background music from a laptop or sound effects from a phone—and manage everything in real-time.
A mixer gives you hands-on control. You can adjust the volume of each guest, tweak their EQ (think bass and treble), and pan their voices to the left or right, all before the sound even hits your recording software. This on-the-fly control is a lifesaver for shows with three or more people, or for anyone who wants to produce a more complex, layered show live on the fly.
And modern podcast-specific mixers pack in even more features.
All-in-One Power: Many now include a built-in audio interface and recorder, so you can record directly to an SD card as a backup.
Sound Pads: They often have customisable sound pads, letting you trigger your intro, outro, and sound effects with the push of a button.
Pro-Level Processing: Built-in effects like noise gates and compressors help you get that polished, professional sound right from the source, saving you a heap of time in post-production.
The undisputed champion here, particularly in the Australian market, is the [RØDECaster Pro II](https://rode.com/en/interfaces-and-mixers/rodecaster-series/rodecaster-pro-ii). Designed by the Sydney-based audio legends at RØDE, it's a complete podcast production studio in a single box. It's an investment, for sure, but it’s built to grow with your show, handling everything from a simple two-person chat to a sophisticated multi-guest production with live call-ins.
Interface vs Mixer: How to Choose
Ultimately, the decision comes down to simplicity versus control. An interface is the perfect starting point for most podcasters, giving you excellent audio quality for one or two people without overcomplicating things. A mixer is the logical next step when your show grows, and you find yourself needing more inputs and greater real-time command over your sound.
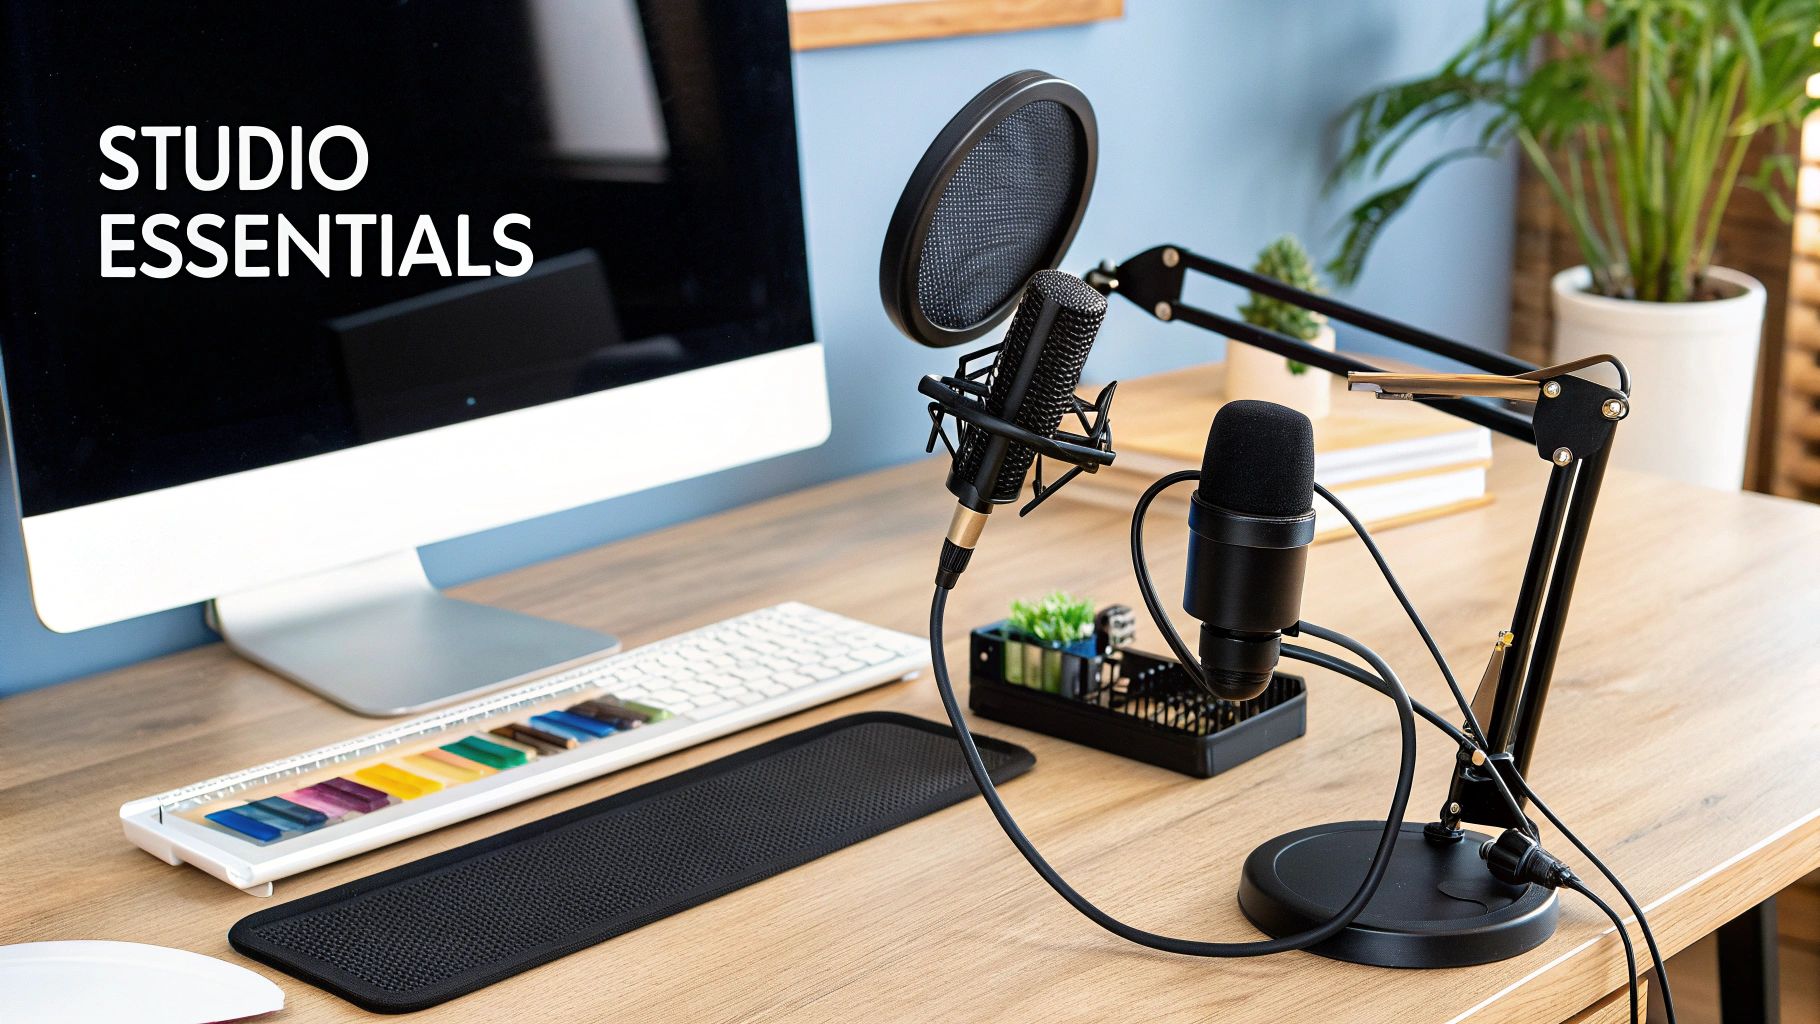
Essential Accessories for Professional Sound
The real difference between an amateur recording and a professional one often lies in the details. Your microphone and audio interface do the heavy lifting, sure, but it’s the smaller accessories that add that final layer of polish. These small, strategic investments can give you a massive return on your production quality.
Think of it this way: your mic is the engine, but the accessories are the suspension and tyres. They smooth out the ride, absorb the bumps, and make sure the engine's power actually translates to a smooth journey for your listener. Without them, even a V8 engine will give you a clunky, unpleasant experience.
This attention to detail has never been more critical, especially as the Aussie podcasting scene continues to boom. In 2025, listenership in Australia shot up to 9.6 million people every month—that's a huge 47% of the population over 15. With 50% of these regulars tuning into 2-4 episodes a week, audiences are getting better at spotting good audio from bad. Professional sound is no longer a luxury; it’s a key differentiator. You can explore more about these listenership trends and see just how the audience is diversifying.
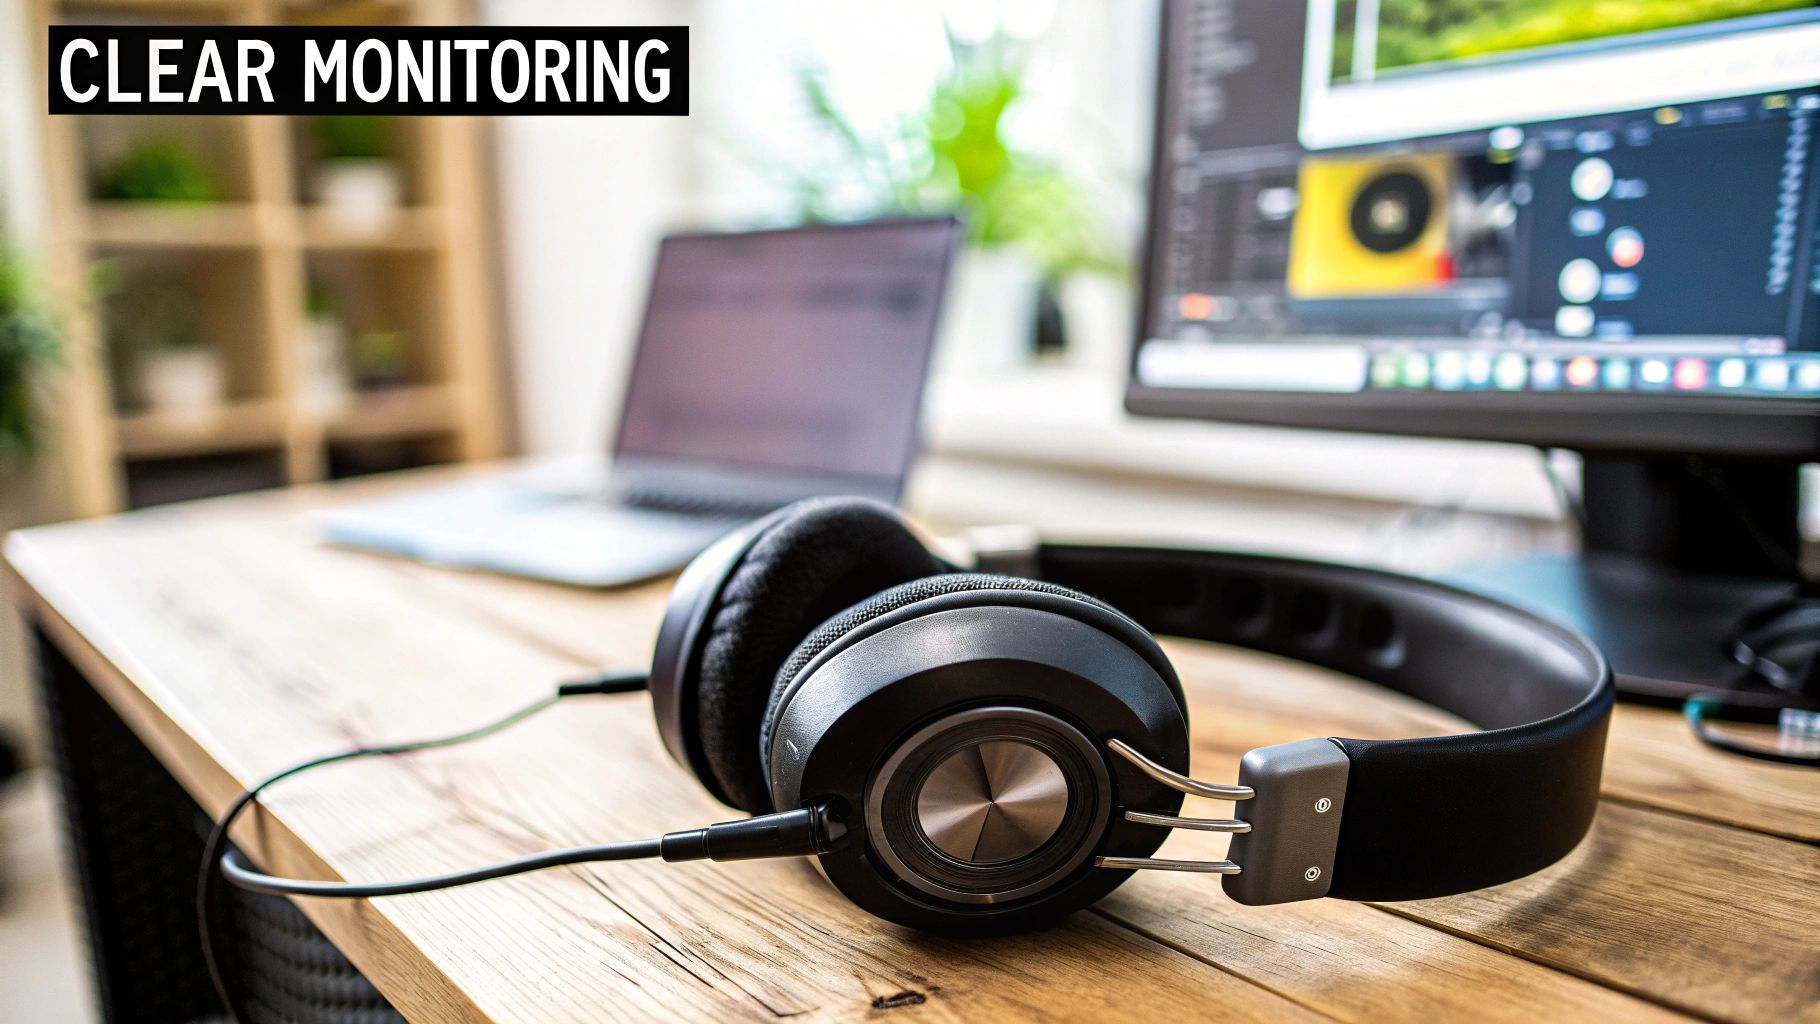
Why Closed-Back Headphones Are a Must-Have
First up, let’s talk about closed-back headphones. Honestly, these are non-negotiable, and for one simple reason: audio isolation. Closed-back headphones create a seal around your ears, which stops the sound from leaking out and being picked up by your highly sensitive microphone.
This is absolutely crucial when you’re monitoring your own voice during recording. It lets you hear exactly what the mic is capturing—from that annoying air-con hum to whether you’re leaning too far away—without causing a distracting echo or feedback loop in your final track. It's the only way to stay in full control of your audio as it happens.
The Power of a Pop Filter
Ever listened back to a recording and heard those harsh, explosive pops on words with 'p' or 'b' sounds? They’re called plosives, and they happen when a sudden burst of air from your mouth smacks into the microphone’s diaphragm. They're incredibly jarring for listeners and a real pain to try and fix later on.
Luckily, a pop filter is a simple, cheap fix. It's just a small mesh screen that sits between you and the mic.
A pop filter acts like a shield, diffusing that blast of air before it can overload the microphone. It’s one of the smallest pieces of kit you can buy, but it makes one of the biggest differences to your vocal clarity.
It’s an essential piece of podcasting equipment Australia-based creators can grab from any local music or electronics store, and it will instantly improve your vocal recordings.
Get Your Mic off the Desk with a Boom Arm
While a lot of mics come with a little desk stand, upgrading to a boom arm is a major step up for both your sound quality and your comfort. A boom arm is an adjustable, spring-loaded arm that clamps onto your desk, letting you position your microphone perfectly.
Here’s why it’s such a game-changer:
Optimal Mic Placement: You can get the mic at the perfect distance and angle from your mouth, which keeps your volume and tone consistent. No more leaning in and out.
Reduces Vibrations: By lifting the mic off the desk, a boom arm isolates it from all those little bumps and vibrations from typing, tapping your feet, or putting your mug down.
Frees Up Desk Space: It clears up valuable real estate on your desk, giving you more room for notes, your interface, or a much-needed coffee.
Improves Posture: You bring the mic to you, instead of hunching over a stand. This makes for a far more comfortable (and sustainable) recording session.
Investing in these three core accessories—headphones, a pop filter, and a boom arm—is a surefire way to polish your sound and make your podcast stand out in the thriving Australian audio landscape.
How to Make the Most of Your DIY Studio Experience at That Creative Hub
At That Creative Hub, we’re all about empowering you to create — whether you’re a seasoned pro or just starting out. Our spaces are designed to be plug-and-play, but we’re always here to support behind the scenes.
Using the Cyclorama Studio?
Bring your own camera and crew or ask us to connect you with a trusted photographer or videographer from our network. If you’re new to lighting or unsure how to get started, we can guide you through what you need or step in with setup support. The goal is to make it easy for you to walk in and create confidently.
Podcast Studio Access
For podcast users, we offer a fully-equipped, ever-evolving set with a dedicated production manager on-site. Whether you’re filming an interview, a solo series, or a branded piece of content, we can help set the vibe and adjust the layout to suit your vision. The set is flexible, the gear is high-quality, and the support is here if you need it.
Need Help? Just Ask
Can’t get a crew together? Let us handle it. We act as a concierge service for creators, linking you with the right people and tools to bring your vision to life. From photographers to editors, lighting setups to sound checks — we’ve got you.
Taking Your Podcast Visual: Video and Livestreaming
Let's face it, the podcasting world is no longer just about audio. While crystal-clear sound will always be the heart of a great show, bringing your podcast to life with video on platforms like YouTube and Spotify can open up a whole new world of listeners. It’s about adding another layer to your content, letting your audience see your expressions and connect with you in a much more personal way.
This shift towards video is happening at a time when the Australian podcasting scene is absolutely booming. Seriously, the local industry is tipped to hit a value of USD 3.13 billion in 2025 and keep climbing to a staggering USD 4.37 billion by 2032. Aussies are devouring content, and creators who add a dynamic video element are in the perfect spot to grab that attention. You can dive deeper into the stats on the growth of the Australian podcasting market to see just how big the opportunity is.
Making the leap from audio to video doesn't mean you have to become a film director overnight, but it does mean thinking about a few key upgrades to your podcasting equipment Australia kit.
Stepping Up Your Camera Game
Sure, you can get started with your smartphone, but if you want that polished, professional look, a dedicated camera is a must. You've really got two main paths to consider: a top-tier webcam or a DSLR/mirrorless camera.
High-Quality Webcams: Forget the grainy built-in laptop camera. Modern webcams like the Logitech Brio or Razer Kiyo Pro are brilliant plug-and-play options that deliver crisp 1080p or even 4K video. They're a massive step up and incredibly simple to use.
DSLR/Mirrorless Cameras: For that truly cinematic, high-end look, a DSLR or mirrorless camera is the ultimate choice. Models from brands like Sony, Canon, or Panasonic can be hooked up to your computer to act as a high-powered webcam, giving you that beautiful, blurry background (what the pros call bokeh) that makes you stand out.
Why Lighting is Your Secret Weapon
Here’s a little insider secret: great lighting is what truly separates the amateurs from the pros. It’s what makes you look sharp, engaging, and professional on screen. The most reliable and widely-used method is the classic three-point lighting setup.
Think of three-point lighting as sculpting with light. It’s a simple formula that removes unflattering shadows, adds depth to your face, and makes you pop from the background, instantly elevating your video's production value.
It sounds technical, but it’s actually quite straightforward. It involves just three lights:
Key Light: This is your main light source. You'll place it slightly to one side of the camera to light up the main part of your face.
Fill Light: Positioned on the opposite side, this is a softer light designed to "fill in" and soften the shadows created by your key light.
Back Light: Placed behind you (out of shot, of course!), this light creates a subtle rim of light around your shoulders and head, separating you from the background and adding a real sense of depth.
The Studio Advantage for Video Podcasting
Trying to nail the perfect camera angles and lighting setup at home can be a massive headache. It's often the most time-consuming part, especially if you want your show to look consistent from one episode to the next. This is where a professional studio becomes an absolute game-changer.
Walking into a purpose-built space like That Creative Hub means all that hard work is already done for you. The cameras are positioned, the lighting is perfected, and the backdrop looks professional. It completely takes the guesswork out of the equation, so you can stop wrestling with gear and just focus on what you do best: creating incredible content. It’s simply the fastest way to get a polished, professional-looking video podcast right from the very first frame.
Frequently Asked Questions About Podcasting Gear
Diving into the world of podcasting equipment can feel a bit overwhelming, especially when you're just starting out here in Australia. Let's break down some of the most common questions we get from new creators, with some straight-up advice to get you on the right track.
What's The Absolute Minimum I Need To Start?
Honestly, you can get going with just two things: a solid USB microphone and a computer with some recording software.
A great USB mic, like the Australian-made RØDE NT-USB+, is a brilliant first step. It has an audio interface built right in, which means you just plug it into your computer and you’re ready to record clean, crisp audio. It’s the fastest and most budget-friendly way to sound professional right out of the gate.
For a more detailed look at starter setups, we've put together a complete podcast equipment for beginners guide.
Where Can I Buy Reliable Gear In Australia?
You’ve got plenty of fantastic local options. Specialist shops like Store DJ and Mannys Music are goldmines because their staff really know their stuff and can give you advice that’s specific to your needs.
If you're after convenience, big retailers like JB Hi-Fi also carry a decent range of gear, from entry-level mics to more advanced equipment from trusted brands.
Should I Get Sound Treatment Or A Better Mic First?
This is a big one, and the answer is almost always sound treatment. For anyone recording at home, sorting out your room's acoustics will give you a much bigger improvement than splashing out on a pricey microphone.
Think about it: a good, affordable dynamic mic in a room with plenty of soft furnishings—rugs, heavy curtains, even a few blankets hung on the walls—will sound infinitely better than a top-of-the-line condenser mic in a bare, echoey space. Get your recording environment under control first; your audio quality will thank you for it.
The quality of your recording space has a bigger impact on your final sound than the price tag of your microphone. A treated room makes an average mic sound great, while an untreated room can make a great mic sound average.
What If I Need More Than Just The Gear?
Sometimes, the equipment isn't the real challenge—it's finding the right people or technical know-how to pull it all together. If you're struggling to find a crew or just need a hand with the setup, a professional studio can offer a lot more than just a room.
Many studios act as a complete production partner, connecting you with photographers, editors, and sound engineers to make sure every detail is handled. This kind of support lets you walk in and focus purely on creating your content, knowing the technical side is completely taken care of.
Ready to skip the setup and jump straight into creating with professional gear? At That Creative Hub, our plug-and-play podcast studio has everything you need, backed by on-site expert support. Book your session at https://www.thatcreativehub.au and bring your vision to life.
Comments