Podcast Equipment for Beginners: Your Starter Guide
- contact733797
- Aug 1, 2025
- 14 min read
Thinking about starting a podcast can feel a bit overwhelming, especially when you start looking at all the gear. It's easy to get lost in a sea of technical jargon and expensive equipment, but I'm here to tell you it doesn't have to be that way.
The truth is, you only need a handful of key items to produce a show that sounds clean, clear, and genuinely professional. You don't need a massive budget or a sound engineering degree to get started.
Let's break down the essential podcast starter kit. Think of it like a simple recipe with three core ingredients. Each one is crucial for the final quality of your audio, but none of them needs to be complicated or break the bank.
1. A Quality Microphone
This is, without a doubt, the most important piece of the puzzle. Your microphone is what captures your voice and turns it into something your listeners can hear. For anyone new to podcasting, a USB microphone is your best friend.
Why a USB mic? Because it's designed for simplicity. You just plug it straight into your computer's USB port, and you're ready to go. There’s no need for extra hardware like mixers or audio interfaces, which can really complicate things when you're just starting out.
2. Monitoring Headphones
Next up, you need a solid pair of headphones. These aren't just for listening to your favourite tunes; they're for monitoring your audio in real-time as you record. This is a non-negotiable step.
Hearing exactly what your microphone is picking up allows you to catch common audio gremlins like echo, distracting background noise, or a weird hum before it ruins a great take. One crucial tip: always use wired headphones. Bluetooth might be convenient, but it introduces a slight delay (latency) that can throw you off. A simple, wired pair gives you zero-lag, real-time feedback.
3. Recording & Editing Software
Finally, you need a digital space to bring it all together. This is your recording and editing software, essentially your podcasting command centre. It's where you'll record your episodes, snip out mistakes, and polish the final track.
The great news is that some of the best options are completely free. Software like Audacity or GarageBand (for Mac users) are incredibly powerful and more than enough to get you started on the right foot.
What's a Realistic Budget?
Putting together your first podcasting kit is probably more affordable than you think. For most beginners in Australia, a realistic budget sits somewhere between AUD $200 and $600. This comfortably covers a great-sounding USB mic, a reliable pair of headphones, and any small software costs you might decide on.
To give you a clearer picture, here’s a quick checklist of the essentials.
Beginner Podcaster's Essential Gear Checklist
This table breaks down the core equipment every new podcaster needs. It covers the what, the why, and what you can expect to invest to get started with quality sound.
Equipment | Primary Role | Typical Price Range (AUD) |
|---|---|---|
USB Microphone | Capturing your voice clearly | $150 - $400 |
Wired Headphones | Monitoring audio in real-time | $50 - $150 |
Recording Software | Recording, editing, and mixing | $0 - $50+ (Free options are excellent) |
As you can see, the barrier to entry is quite low. The focus should be on getting reliable gear you can learn inside and out.
The secret to a great-sounding podcast isn't spending thousands on gear. It’s about learning how to use a few high-quality, reliable pieces of equipment effectively. Simplicity is your best friend when you’re just starting out.
If you're not quite ready to buy your own equipment, or you just want to experience a professional setup first-hand, booking time in a fully equipped studio is a fantastic option. At That Creative Hub, our spaces are designed to be plug-and-play, but we’re always here to support behind the scenes. Explore our That Creative Hub podcast studio to see how you can focus purely on your content while we handle the technical side.
2. Choosing Your First Podcast Microphone
If there's one piece of kit you should invest in right from the start, it's your microphone. Honestly, it’s the most critical tool in your arsenal. It’s what captures your voice and turns it into the clean, crisp audio your listeners will hear. Getting this right is the foundation of a professional-sounding show.
The good news? You don't need to be an audio engineer to make a great choice. For beginners, it really boils down to two main options: USB and XLR microphones.
Think of a USB mic as the ultimate 'plug-and-play' solution. You simply connect it to your computer's USB port, and you're pretty much ready to record. An XLR microphone, on the other hand, is part of a more customisable setup. It needs an extra piece of equipment, called an audio interface, to talk to your computer.
For most people just starting out, a quality USB microphone is the perfect way to get going. It keeps things simple while still delivering impressive sound, saving you the hassle of extra cables and hardware.
Dynamic vs. Condenser Mics
Once you've decided on the connection type, you'll see microphones categorised as either dynamic or condenser. Understanding the difference here is the secret to picking the right mic for your actual recording space.
Dynamic Microphones: These are absolute champions at rejecting background noise. They're designed to pick up sound from directly in front of them, which makes them a lifesaver for less-than-perfect recording environments. Think spare bedrooms or a home office where you can't control every little sound.
Condenser Microphones: These mics are far more sensitive. They capture a richer, more detailed range of sound, which is brilliant if you're in a quiet, acoustically treated room. The trade-off is that they'll also pick up everything else—the hum of your air conditioner, your computer fan, and even traffic outside.
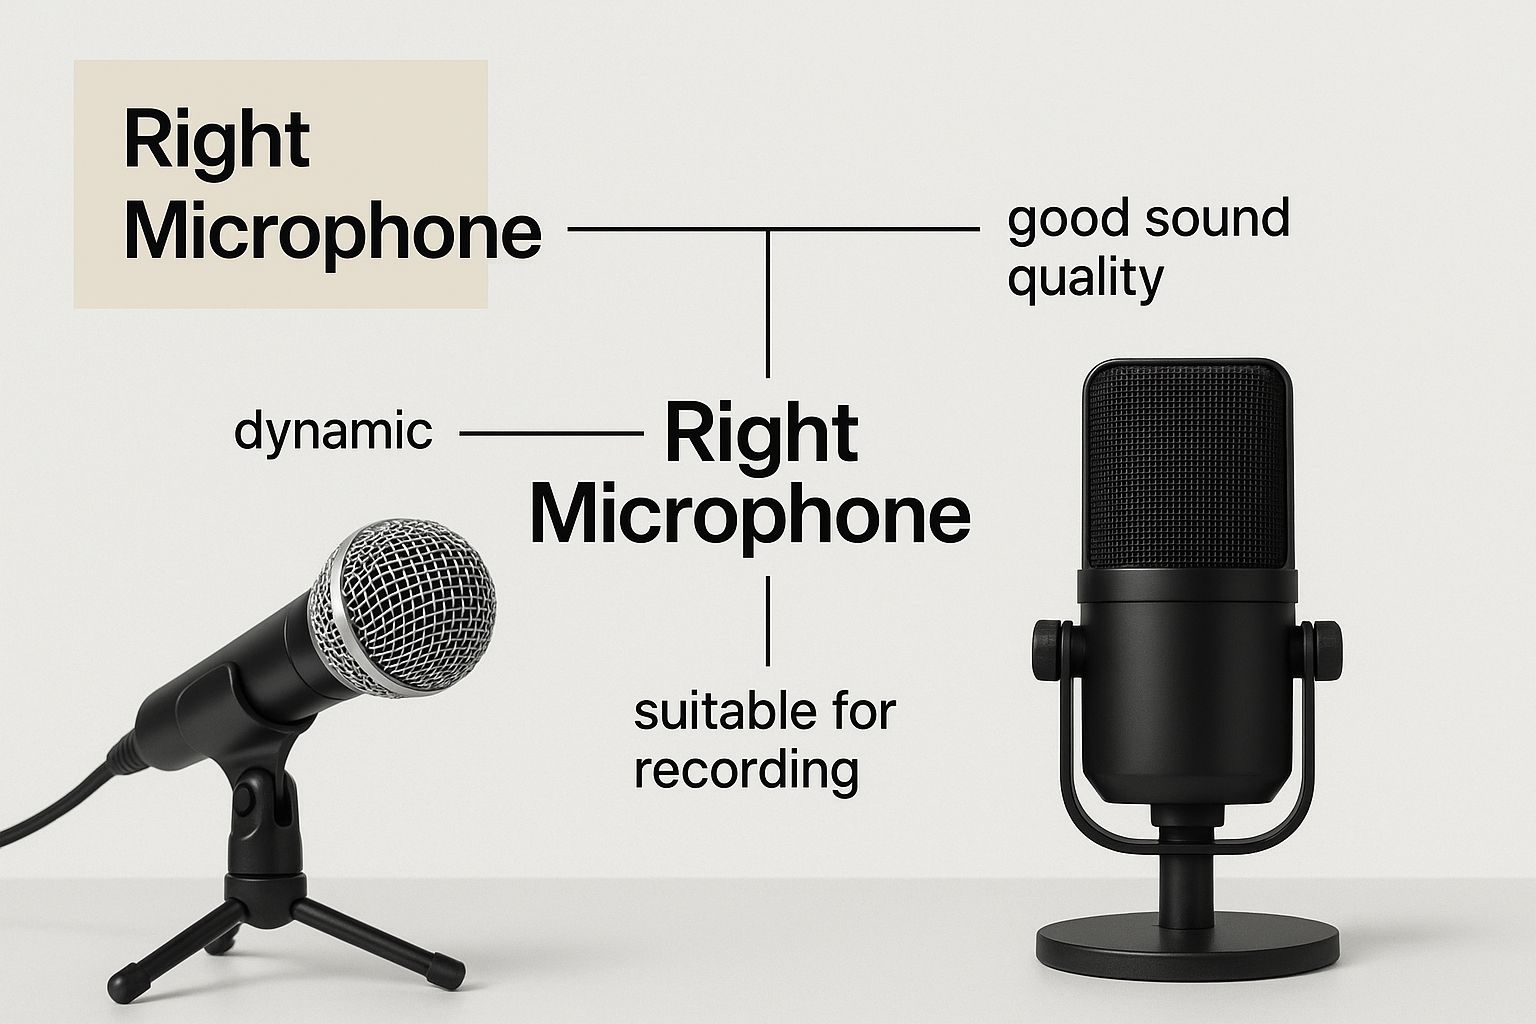
The biggest takeaway here is to let your recording environment guide your decision. A basic dynamic mic in a reasonably quiet room will always sound better than a fancy condenser mic in a noisy, echo-filled space.
I tell 95% of new podcasters the same thing: a dynamic microphone is the more forgiving and practical choice. It helps you get clear audio right out of the box, letting you focus on creating great content instead of battling background noise.
Reliable Mics for Beginners
When it's time to actually buy, I always point people toward models known for their reliability and value. You'll see the Samson Q2U and the Audio-Technica ATR2100x-USB recommended everywhere, and for good reason.
Both are excellent dynamic microphones that cleverly offer both USB and XLR connections. This gives you the best of both worlds—the simplicity of USB to start, with the option to upgrade your setup with an audio interface down the track. They deliver fantastic sound for their price and are built like tanks.
Picking your first microphone really does set the tone for your whole podcasting journey. By starting with a reliable dynamic USB mic, you’re setting yourself up for great-sounding audio from episode one, without the technical headaches.
Starting out, a simple USB microphone is honestly the best way to go. It’s the path of least resistance to getting great-sounding audio recorded without a steep learning curve. But as your podcast grows and your ambitions get bigger, you'll eventually bump up against the limitations of that straightforward setup.
That's the point where you'll start looking at adding an audio interface or a mixer to your kit.
So, when is the right time to take that leap? It almost always boils down to one of two reasons: you want to upgrade to a professional XLR microphone, or you need to record multiple people in the same room.
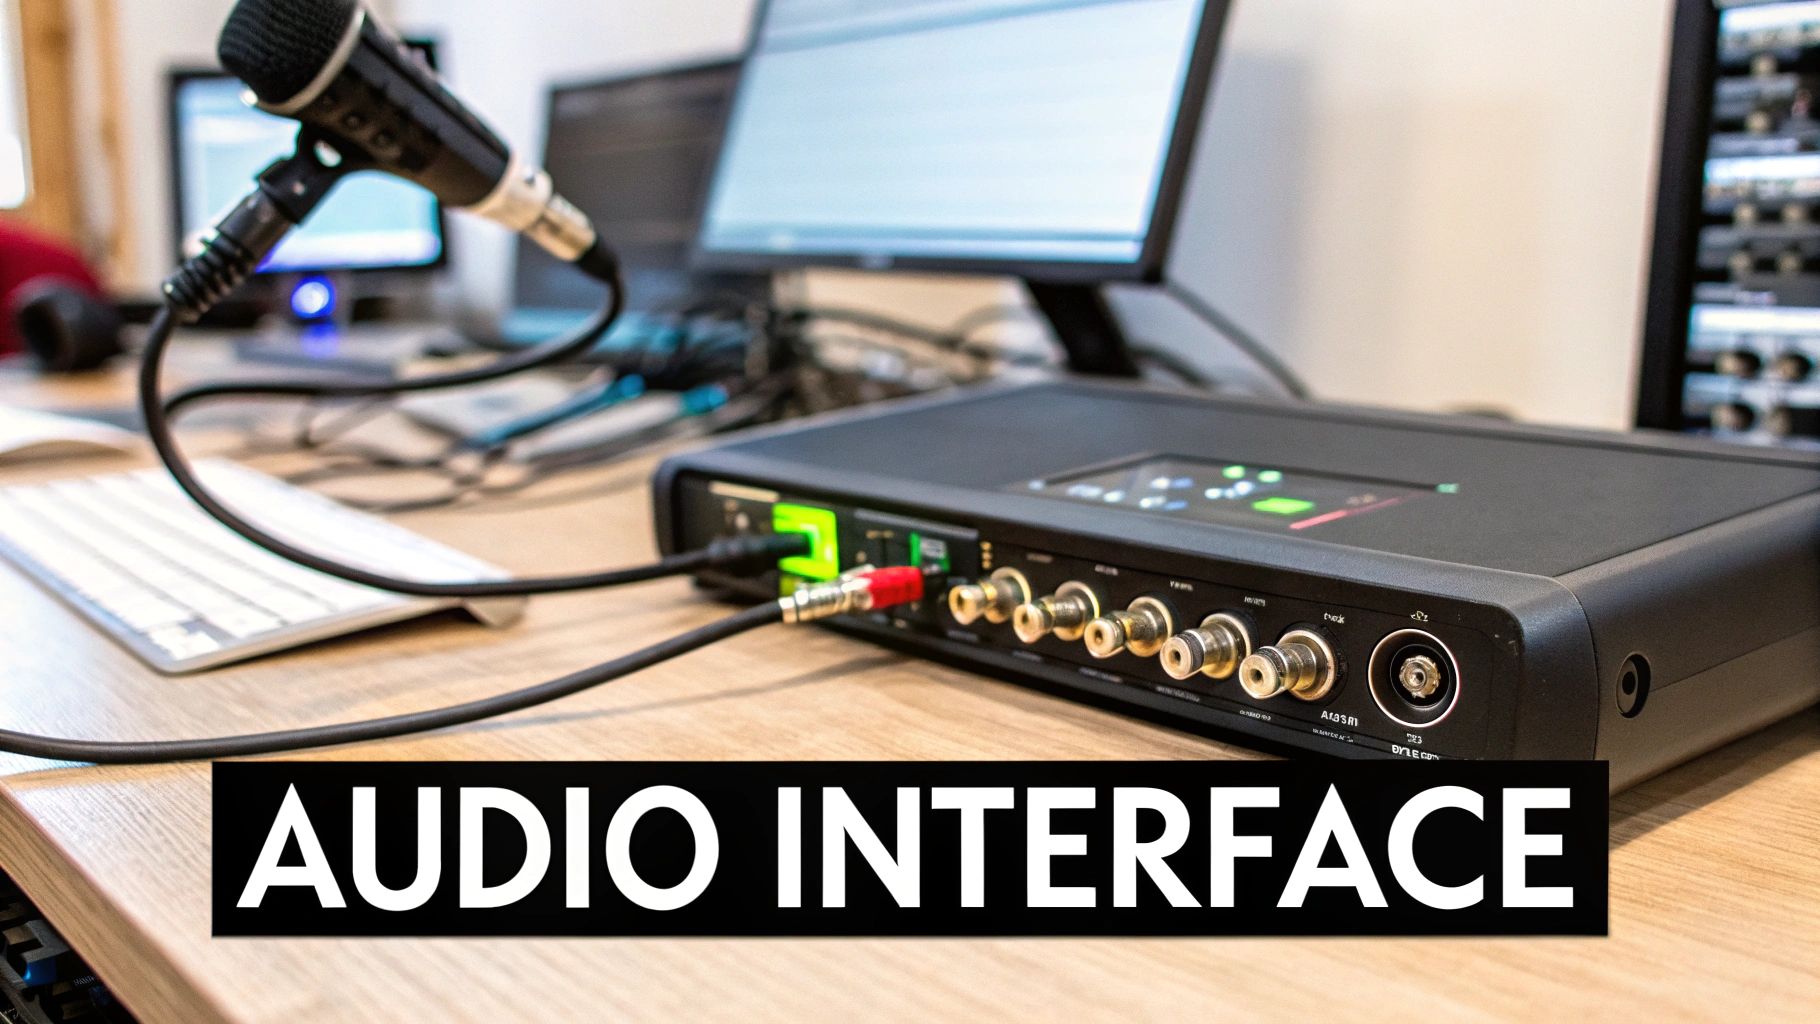
Understanding the Audio Interface
Think of an audio interface as a specialised translator for your sound. It's a small box that acts as the bridge between a professional XLR microphone and your computer. Since XLR mics don't have a USB plug, they need a device like this to convert their rich analogue signal into a digital one that your computer can actually use.
Moving to an interface is the natural next step up from a USB mic. It opens up a whole new world of professional microphones and usually comes with much better preamps, which boost the microphone's signal to give you a cleaner, fuller sound.
An audio interface’s main job is to connect pro-grade microphones to your computer. It’s a simple upgrade that can seriously lift your audio quality and make your setup ready for future growth.
For most solo podcasters who are ready to level up their sound, a straightforward two-channel interface like the Focusrite Scarlett 2i2 is a fantastic and wildly popular choice.
Graduating to a Mixer
If an interface is a step up, then a mixer is like giving your audio setup superpowers. It’s your command centre for sound, offering hands-on, real-time control over multiple audio inputs at once. A mixer becomes pretty much non-negotiable if you plan on having co-hosts or interviewing guests in person.
With a mixer, you can:
Connect Multiple Microphones: Everyone gets their own mic, and you can control each person's volume separately.
Control Levels Live: No more fixing everything later! You can easily adjust volumes, tweak EQ, and add effects as you record, saving a heap of time in post-production.
Add Other Audio Sources: Seamlessly mix in your intro music, sound effects, or even a call-in guest on their phone.
The demand for high-quality content has created a booming market for this type of gear. Globally, podcast equipment revenue was estimated between USD 285 million to USD 300 million, and with Australia’s mature podcasting scene, we’re a healthy part of that. You can find out more about the industry's growth at podcastindustry.org.
While powerful mixers like the RODECaster Pro or the Zoom PodTrak P4 are brilliant, there's no need to rush into buying one. Get comfortable with your USB mic first. Only upgrade when the format of your show truly needs it. This way, you can be sure every piece of your podcast equipment serves a real purpose.
Alright, you’ve picked out your microphone. Fantastic! It’s easy to think you’re all set to hit record, but hold on for just a moment. While your mic is definitely the star of the show, achieving that truly professional sound often comes down to the supporting cast. A few smart, affordable accessories can make all the difference, taking your audio from "hobby project" to "polished production."
Think of these extra bits of gear as your personal audio crew. They work quietly in the background to tackle all those little problems that can distract your listeners and make your podcast sound, well, a bit cheap. Honestly, investing in these items is one of the smartest moves a beginner podcaster can make.
Taking Control of Your Sound Environment
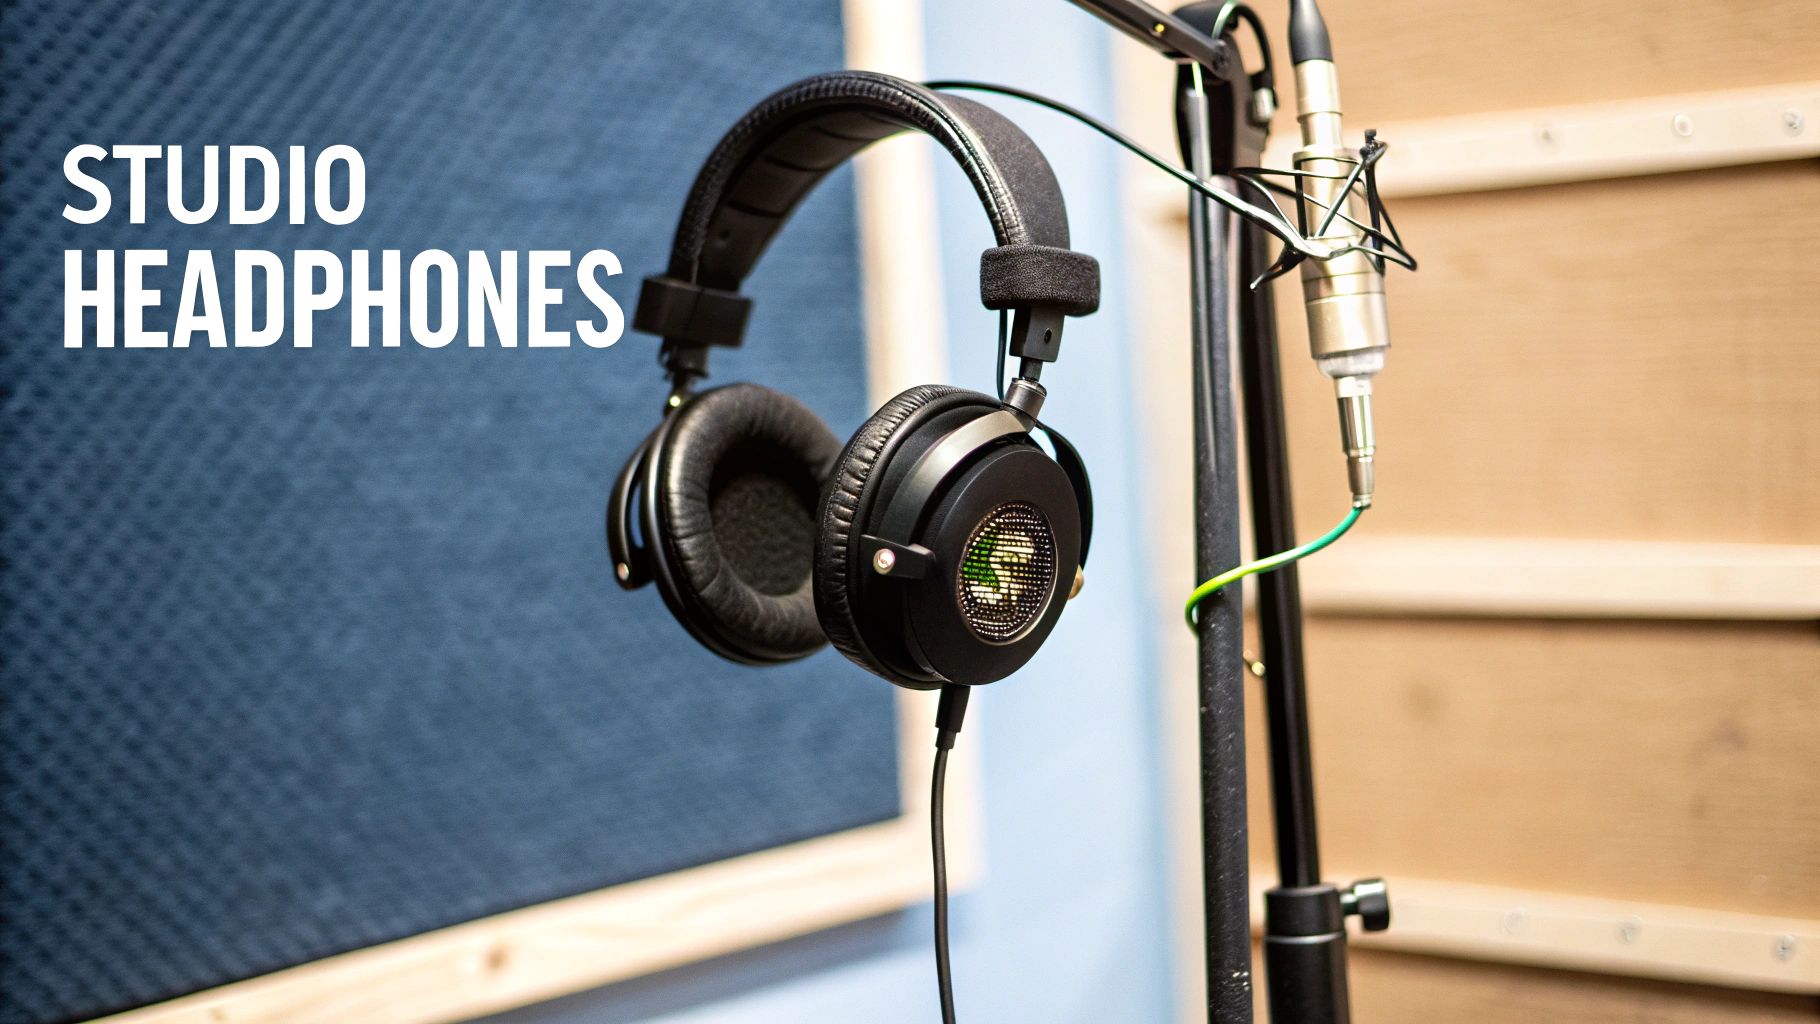
First things first: we need to manage what you hear and the sounds the microphone captures. This boils down to two pieces of gear that are absolutely non-negotiable: closed-back headphones and a pop filter.
Closed-Back Headphones: It’s crucial to hear your own voice as you record, and these are the tool for the job. Unlike the open-back style some people use for music, closed-back headphones form a seal around your ears. This prevents the sound from your headphones from "bleeding" back into the microphone, which would create a faint, annoying echo in your final recording.
A Pop Filter or Windscreen: This is the simple mesh or foam screen that sits between your mouth and the mic. Its entire purpose is to soften the harsh puffs of air from "p" and "b" sounds—what audio folks call "plosives." Without a pop filter, those sounds create a sudden, booming thump that can make a listener wince. The good news is that many beginner mics, like the popular Samson Q2U, often include a basic foam windscreen to get you started.
Building a Stable Foundation
Next up, let's get your microphone properly positioned and keep it safe from unwanted noise. A wobbly mic that’s not in the right spot is a surefire recipe for inconsistent, amateur-sounding audio.
A shock mount is a clever little cradle that suspends your microphone in elastic bands. Why? It isolates the mic from any bumps, taps, or vibrations travelling through your desk or the mic stand itself. If you're someone who talks with your hands and tends to bump the table, a shock mount is an absolute lifesaver for keeping your audio clean.
The whole point of these accessories is to eliminate distractions. Your audience might not consciously notice when a pop filter is doing its job perfectly, but they will absolutely notice when it’s not there.
Finally, a proper microphone stand is essential. Holding your mic is a definite no-go, and those flimsy little desktop tripods that come with many beginner kits are usually too short and unstable to be of any real use. A good stand lets you place the microphone at the ideal distance and angle from your mouth (we're talking about 4-6 inches away) and, just as importantly, keep it there.
You've got two main choices here:
Desk Stand: This is a simple stand with a heavy, weighted base that sits right on your desk. It's a solid, budget-friendly option to begin with.
Boom Arm: This is the setup you see most podcasters and streamers using. It's an adjustable arm that clamps to the side of your desk. A boom arm offers way more flexibility, allowing you to position the mic perfectly while keeping your desk space clear. It's the preferred choice for a reason.
These seemingly small pieces of gear are the unsung heroes of incredible audio. They don't cost a fortune, but the return on investment in your sound quality is massive, helping you sound like a pro right from your very first episode.
Putting It All Together: Your First Recording Setup
Alright, you've got the gear laid out, and now for the fun part – bringing it all to life. Let's walk through connecting everything so you can go from a pile of boxes to hitting 'record' on your first episode with total confidence.
We'll cover the two most common pathways for new podcasters. Don't let the cables and dials intimidate you; it's all about following a logical sequence. We’ll start with the simplest, most popular option.
Your Basic USB Microphone Setup
This is the classic 'plug-and-play' setup, and honestly, it's where we suggest 95% of beginners start. The beauty of this approach is its sheer simplicity. You’ll be ready to go in minutes.
Prep Your Mic: First, slip the foam windscreen over the top of the microphone. This little piece of foam is your secret weapon against 'plosives' – those harsh, poppy 'p' and 'b' sounds. Then, go ahead and screw the mic onto its desktop stand.
Connect to Your Computer: Grab the USB cable. The smaller end plugs into the port on the bottom of your microphone, and the larger, familiar end goes into a spare USB port on your computer.
Plug in Your Headphones (The Right Way): This is a crucial step! Plug your wired headphones directly into the 3.5mm headphone jack located on the microphone itself. It's tempting to plug them into your computer, but connecting to the mic ensures you hear exactly what it's capturing, with zero delay.
Tell Your Software What to Do: Open up your recording software, whether that's Audacity, GarageBand, or another program. Dive into the audio settings and select your USB microphone as both the Input Device (for recording) and the Output Device (for playback). This simple tweak routes all the sound through your mic and into your headphones.
The Upgraded XLR and Interface Setup
Feeling a bit more ambitious? If you've gone for an XLR microphone and an audio interface, your setup has a couple more moving parts, but the logic is exactly the same.
Mic to Interface: Take your XLR cable and connect your microphone to the first input on your audio interface. You’ll feel a satisfying 'click' when it locks securely in place.
Interface to Computer: Now, connect the audio interface to your computer using the USB cable it came with.
Headphones to Interface: Just like with the USB mic, you want to monitor your sound directly from the source. Plug your headphones into the dedicated headphone output, usually found on the front of the interface.
Set Your Levels: This is the most important new step. Start speaking into your microphone at the volume you'll use for your podcast. As you talk, watch the gain meter on your interface and slowly turn up the gain knob. You want the meter to bounce comfortably in the green or yellow section. If it hits the red, back it off immediately! Red means the sound is 'clipping,' which creates a nasty, distorted effect that’s impossible to fix later.
Configure Your Software: Finally, head into your software's audio settings. This time, you'll select your audio interface as both the input and output device.
The single best tip I can give anyone, regardless of their setup, is to focus on your recording environment. You can get a massive jump in audio quality for free just by recording in the right room. Think soft furnishings, carpets, and curtains. A walk-in wardrobe full of clothes is the oldest trick in the podcaster's book for a reason—it deadens echo beautifully.
If you find that dealing with all the gear is taking the fun out of creating, you could always use a professional space instead. At That Creative Hub, our podcast studio users get access to a fully-equipped, ever-evolving set with a dedicated production manager on-site. The gear is high-quality, the set is flexible, and you have an expert on hand, so you can just walk in and start creating.
Ready to see what a professional, hassle-free environment looks like? You can **book our plug-and-play podcast studio** and focus entirely on your content.
Common Questions About Podcast Equipment
Jumping into the world of podcast equipment for beginners always kicks up a few common questions. It’s completely normal to feel a bit overwhelmed by the gear. Let’s clear the air and tackle some of the most frequent queries so you can get started with confidence.
Do I Need a Dedicated Studio to Start Podcasting?
Absolutely not. You'd be surprised how many chart-topping podcasts got their start in a spare bedroom, a home office, or even a wardrobe. The secret isn't a fancy, soundproofed room; it's about controlling your recording environment to capture clean, crisp audio.
Think about creating a "soft" space. A small room with carpets, curtains, and bookshelves is fantastic because those surfaces absorb sound and stop annoying echoes. A walk-in wardrobe is a classic DIY solution for a reason—all those clothes are brilliant at dampening sound. Your goal is consistent audio quality, not a perfect studio on day one.
What Is the Best Free Software for Recording?
For anyone just starting out, there are two excellent free programs that are more than powerful enough to get you going. Audacity is a fantastic, open-source audio editor that works on any computer. It's packed with features, and while it might take a little getting used to, it's a tool that can easily grow with your skills.
If you’re on a Mac, iPhone, or iPad, you’re in luck. GarageBand comes free with every Apple device and is incredibly easy to use right out of the box. It’s the perfect choice if you're completely new to audio editing. Get comfortable with one of these before you even think about paying for software.
Remember this: great audio is born from a good microphone and a quiet room. No amount of expensive software can magically fix a poorly recorded track.
How Much Should I Budget for My First Setup?
You can get a setup that sounds genuinely professional without breaking the bank. For a solid beginner kit in Australia, a budget between AUD $200 and $400 is a realistic and very effective starting point.
This budget will comfortably cover the essentials:
A great-quality USB microphone (like the Rode NT-USB Mini or Samson Q2U)
A solid pair of closed-back headphones for monitoring your audio
A pop filter to smooth out those harsh 'p' and 'b' sounds
Your microphone is where you should invest the most, as it has the single biggest impact on how you sound. If you have more detailed questions about gear, have a look through our extensive **Frequently Asked Questions** page.
Should I Record Video When I First Start?
It’s tempting, I know, but I always recommend sticking to audio-only when you're just beginning. Honestly, just learning how to record, edit, and mix good-quality audio is a big enough task on its own.
Bringing video into the mix adds a whole new level of complexity. Suddenly, you're worrying about cameras, lighting, angles, and a video editing process that is far more time-consuming. My advice? Nail your audio-only workflow first. Once you're in a good rhythm and producing episodes consistently, then you can start thinking about adding video. This approach stops you from getting burnt out and helps you build a strong foundation for your podcast.
Ready to skip the setup and jump straight into creating? At That Creative Hub, we’re all about empowering you to create. We act as a concierge service for creators, linking you with the right people and tools to bring your vision to life. Learn more about booking your session at That Creative Hub.
Comments